Converting Old Projects to Marble
Occasionally you may need to convert a homepage project from a legacy structure (such as that used by Chalk, our previous deployment tool), to the new Marble structure.
This guide will demonstrate how to manually convert an older project for use by Marble. Note that Marble now includes a marble convert command which automates some of the steps to convert a project from Chalk to Marble.
Identifying Old Templates
Chalk-based templates vary greatly. The good news is that most of these templates are convertible into Marble templates.
- There are ancient sites that only have Dataslate Pages without any gulp scripts or webpack build tools.
- There are older sites that have some gulp scripts, but maybe no webpack.
- There are slightly old to newer sites that use webpack, gulp, and react.
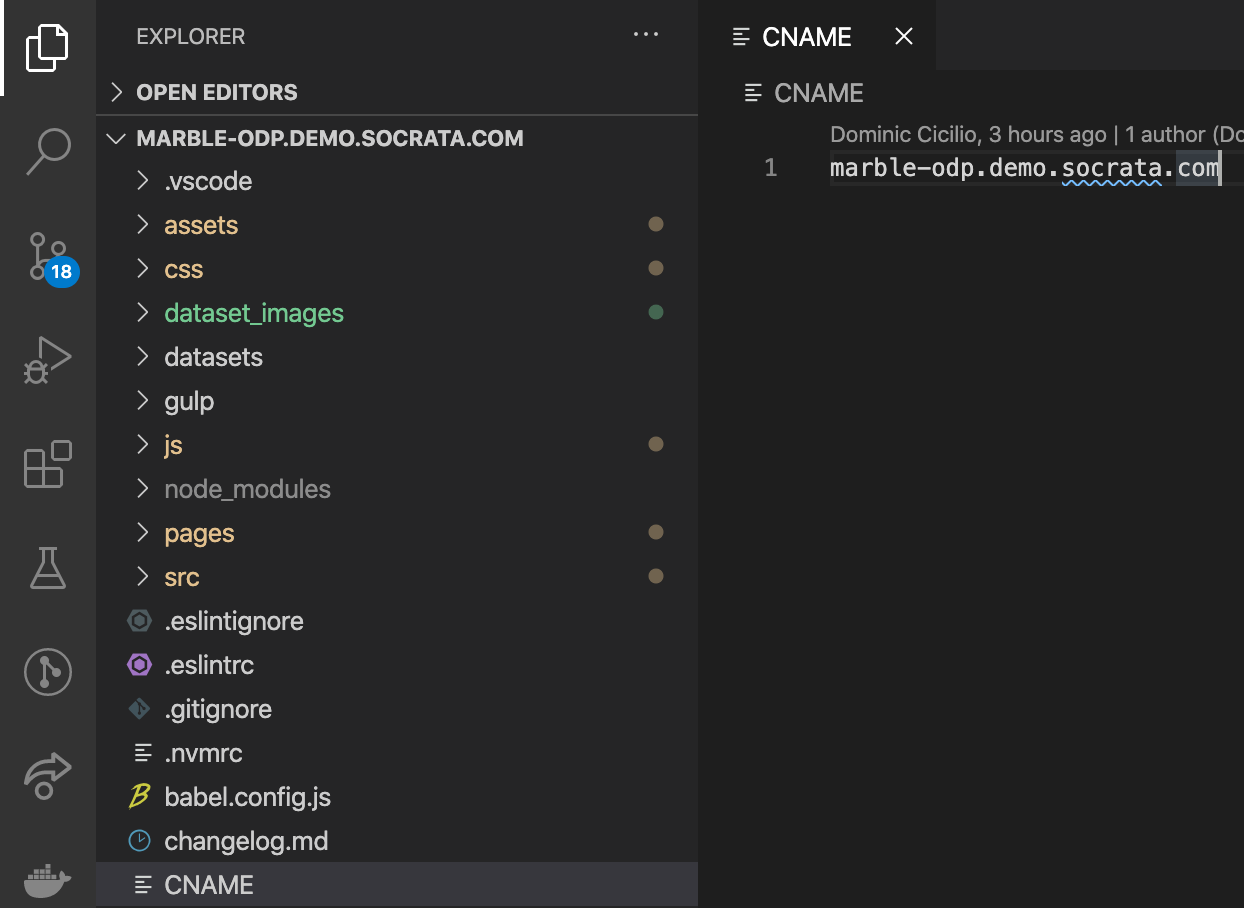
The easiest way to recognize a Chalk template is to look for a CNAME file. This file holds the Socrata domain, where the project will deploy. Marble contains the domain information in site configuration files instead.
Converting Pure Dataslate Pages over to Marble
Identifying a Pure Dataslate Project
"Pure Dataslate" projects, i.e. those not deployed by Chalk, can be recognized by not having a src directory.
This example will look at staffordshirepcc.demo.socrata.com. The site is not published, but the code still exists in bitbucket.
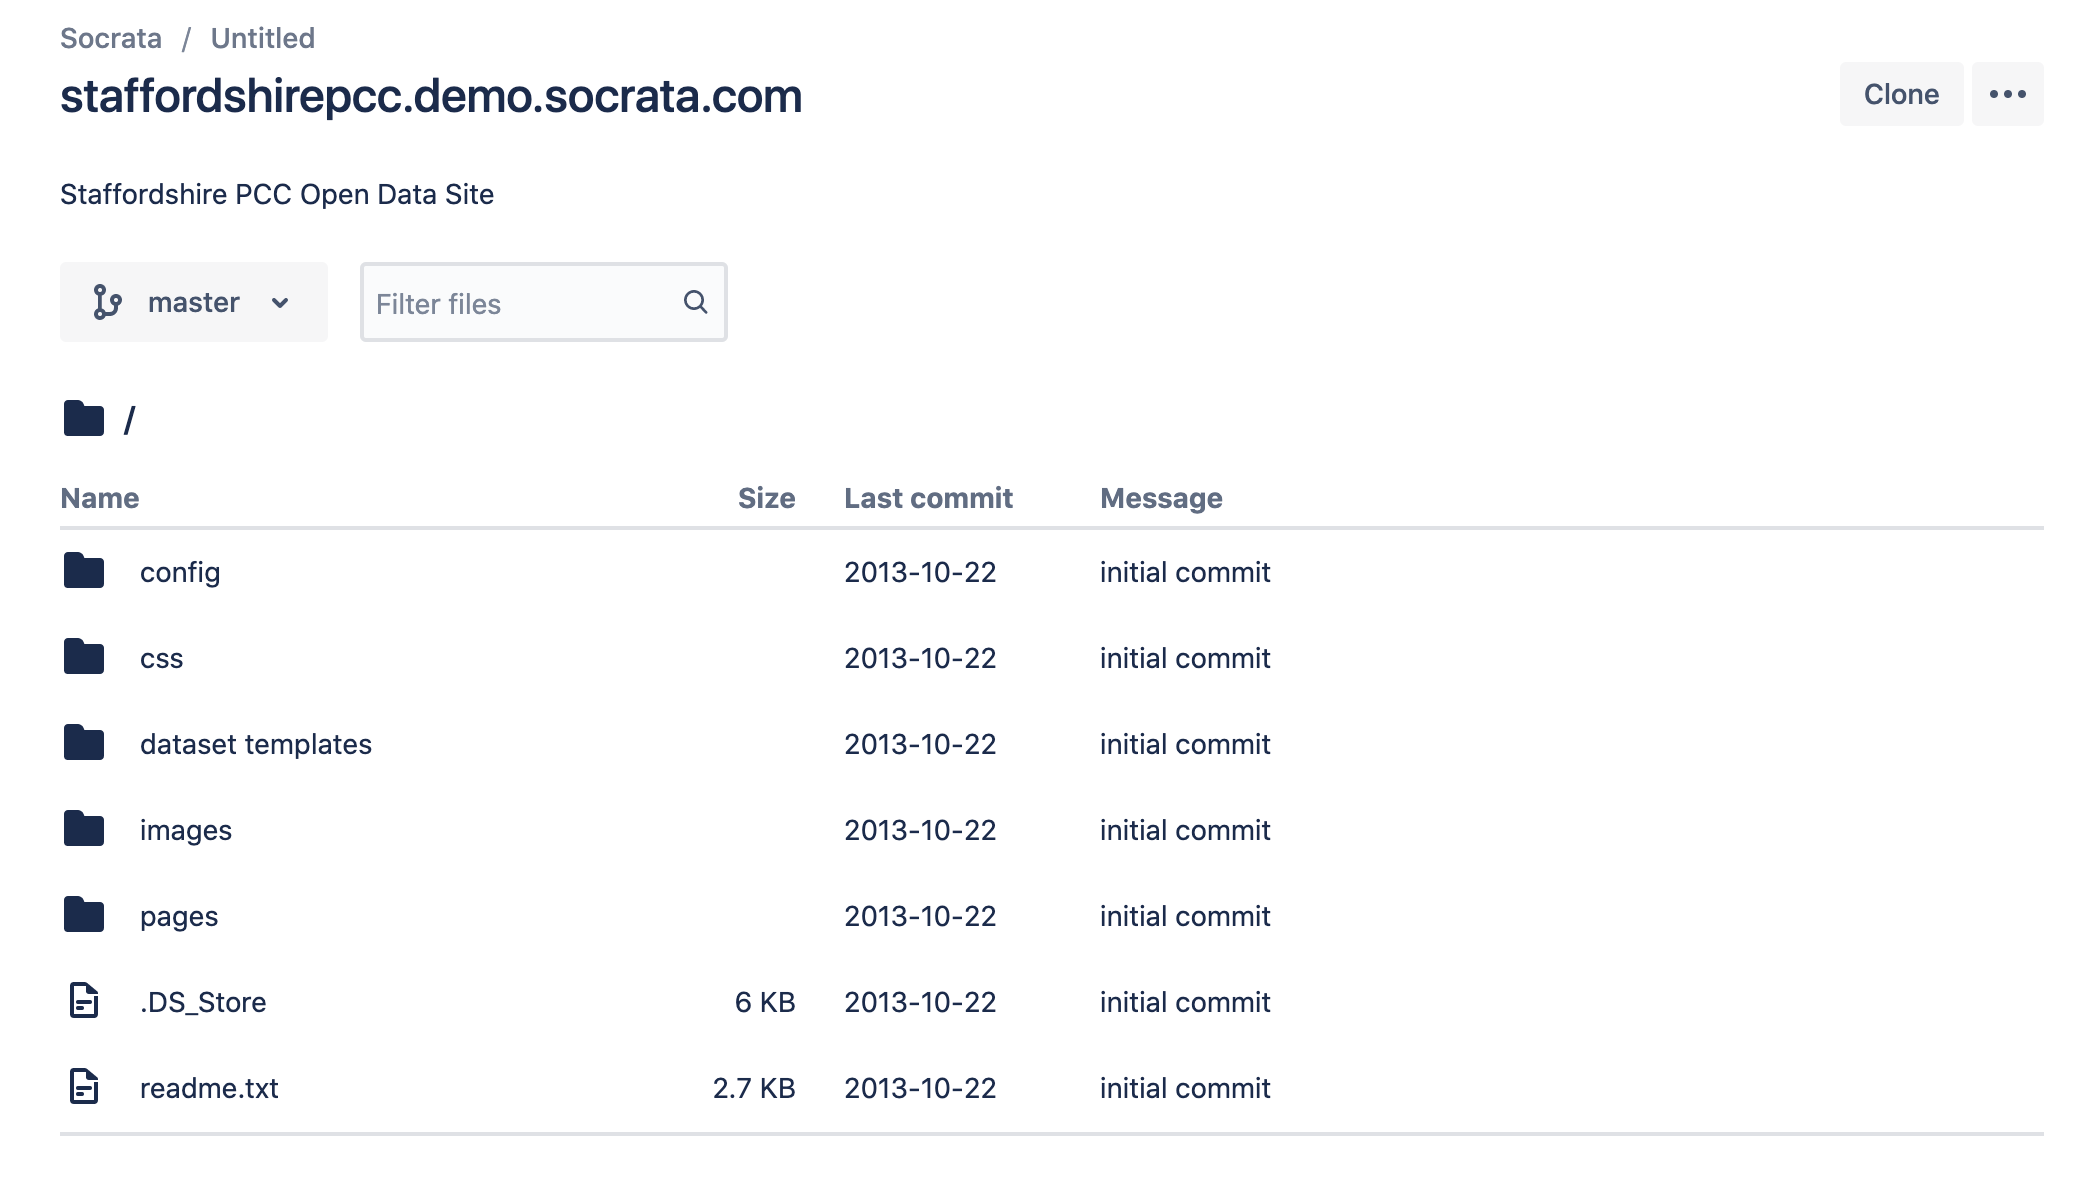
There is no src directory. Another key identifier is the “Last commit” date on the files. They are all listed before 2015, which is when GS started creating React-based homepages.
An essential file location is the pages directory. This folder contains the dataslate website configuration file(s).
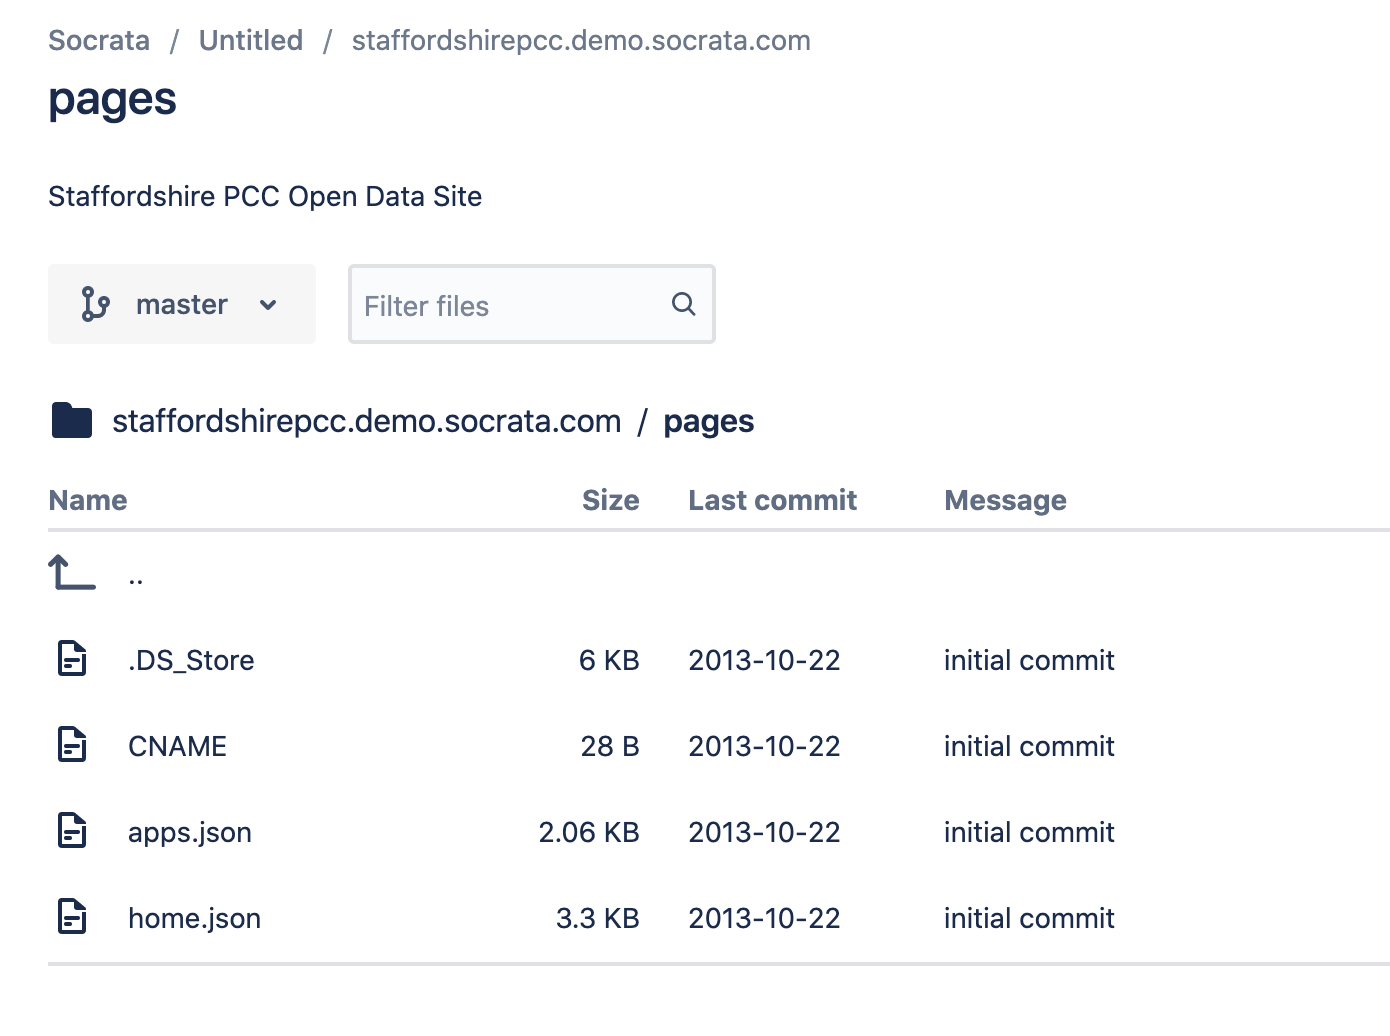
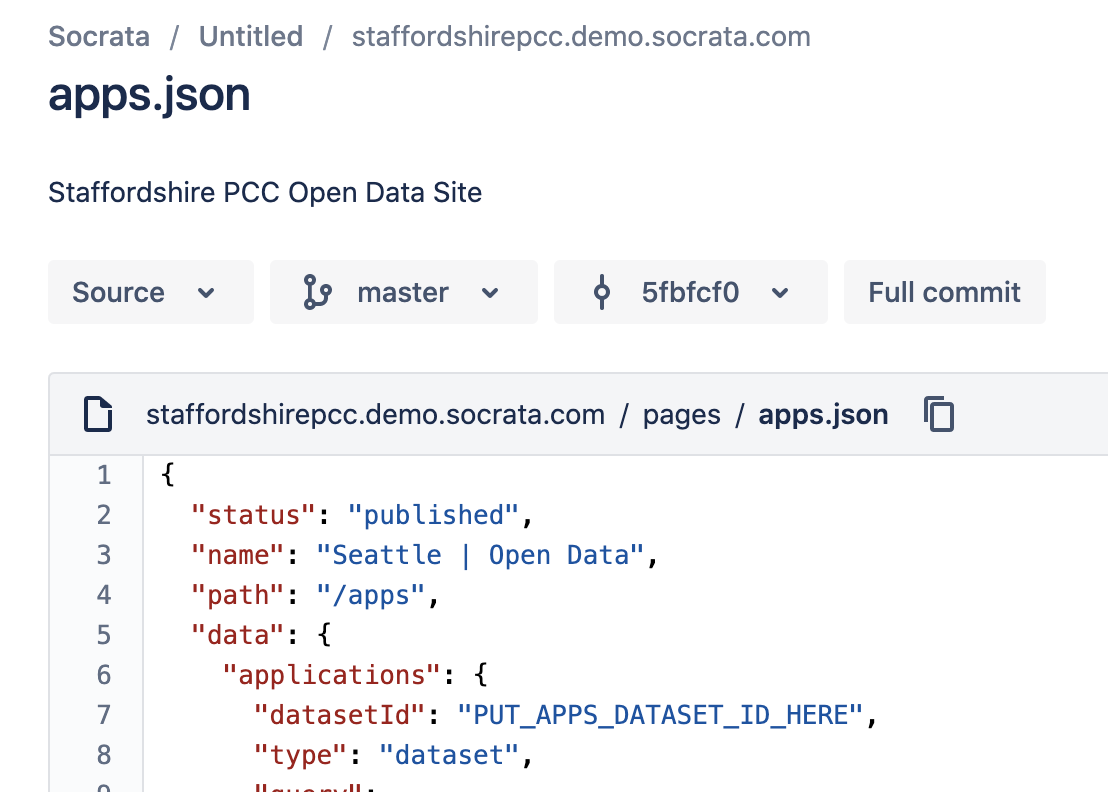
Inside pages, there are two configuration files, apps.json, and home.json. By looking into the record, there is a datasetID value pointing to PUT_STORIES_DATASET_ID_HERE. This value is another clear indication that this is a custom pure Dataslate page, as new Dataslate pages inject React apps.
Important: At this point, it would be best to reach out to the appropriate manager(s) so we can suggest the customer transition off custom work. These sites are usually not worth the development time to convert and would be better off starting with a brand new Marble homepage template.
Adding Marble Configs to the Project
For Marble to work, there must be at least one site configuration file. There should also be a .marble_default file to improve simplicity. The folder structure should look as follows.
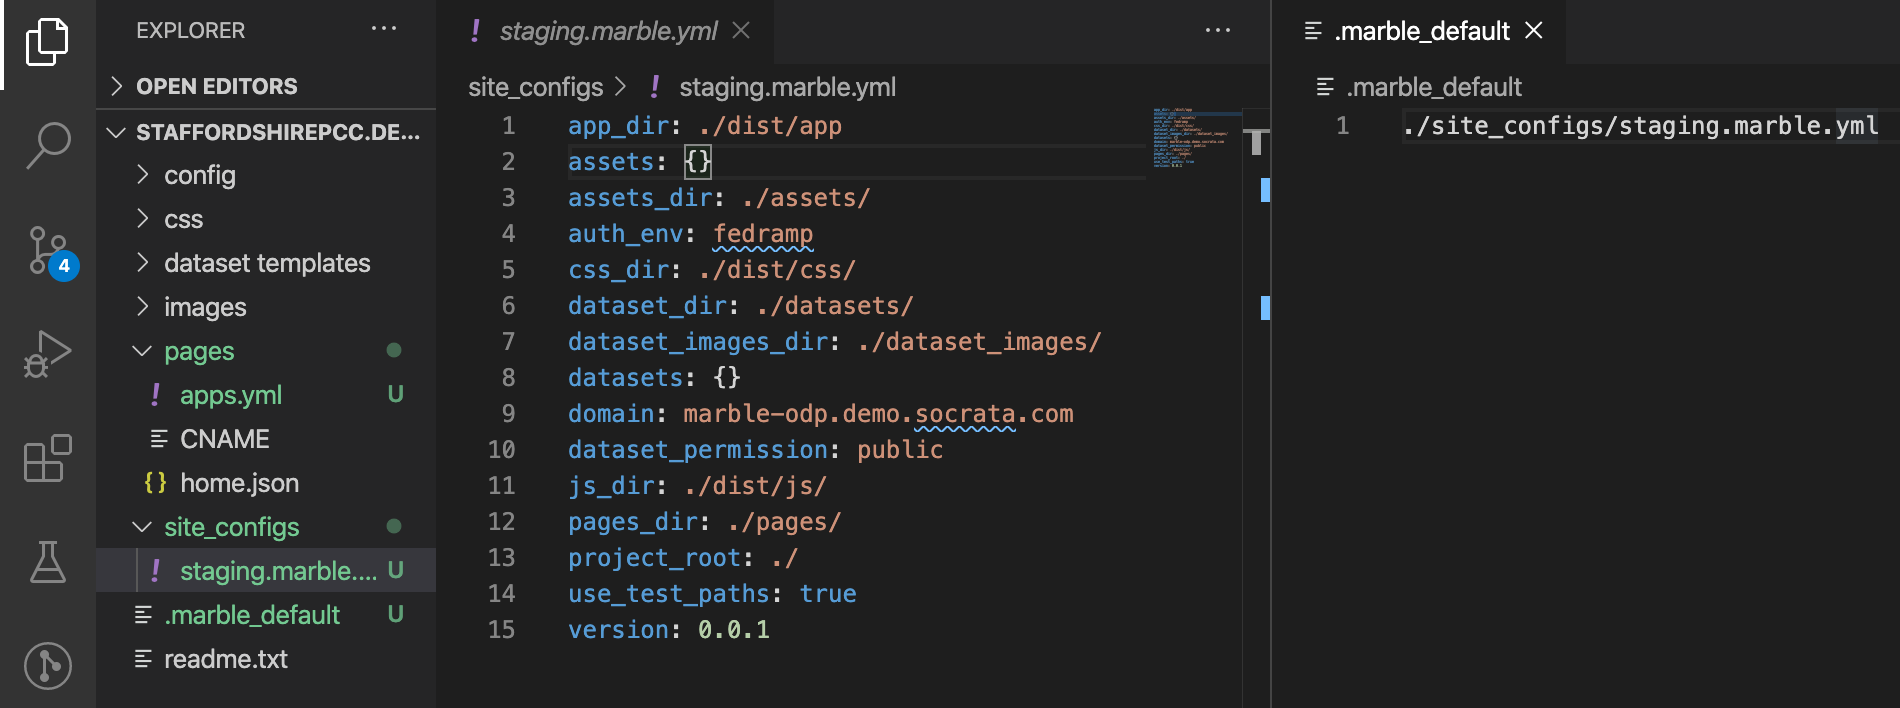
The site configuration is inside the site_configs folder. This folder is not required, but it may help with the organization of multiple config files. The .marble_default file is in the root directory. This particular file maps Marble to the default marble configuration file. This file prevents the need to declare the marble config on every command explicitly. For example, without the marble config, the marble publish command will be marble publish --file ./pages/app -c ./site_configs/staging.marble.yml, while with the .marble_default file the command will look like marble publish --file ./pages/app.
To push up datasets, images, CSS, and miscellaneous JS, please refer to the Marble Documentation and modify the staging.marble.yml file as needed.
Converting Chalk Projects to Marble
This guide will demonstrate how to manually convert a Webpack-based, Chalk-deployed homepage project to a Marble project structure.
Note that Marble now includes the marble convert command, which automates several of the following steps for you. While convenient, this is a powerful command and should only be executed on projects that are tracked in Git, with a remote backup available. Otherwise, you may lose data!
Identifying a Chalk Project
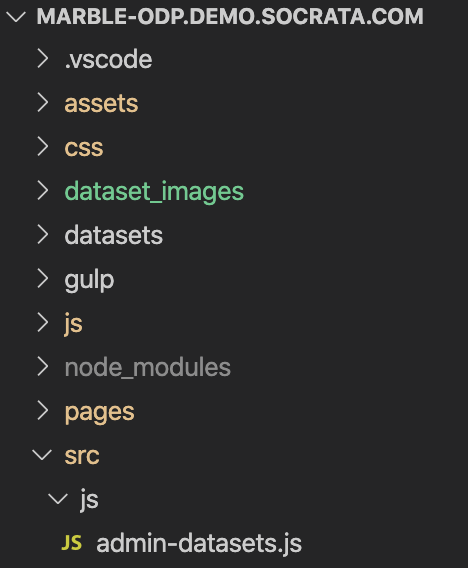
Chalk-based projects have a structure like the following:
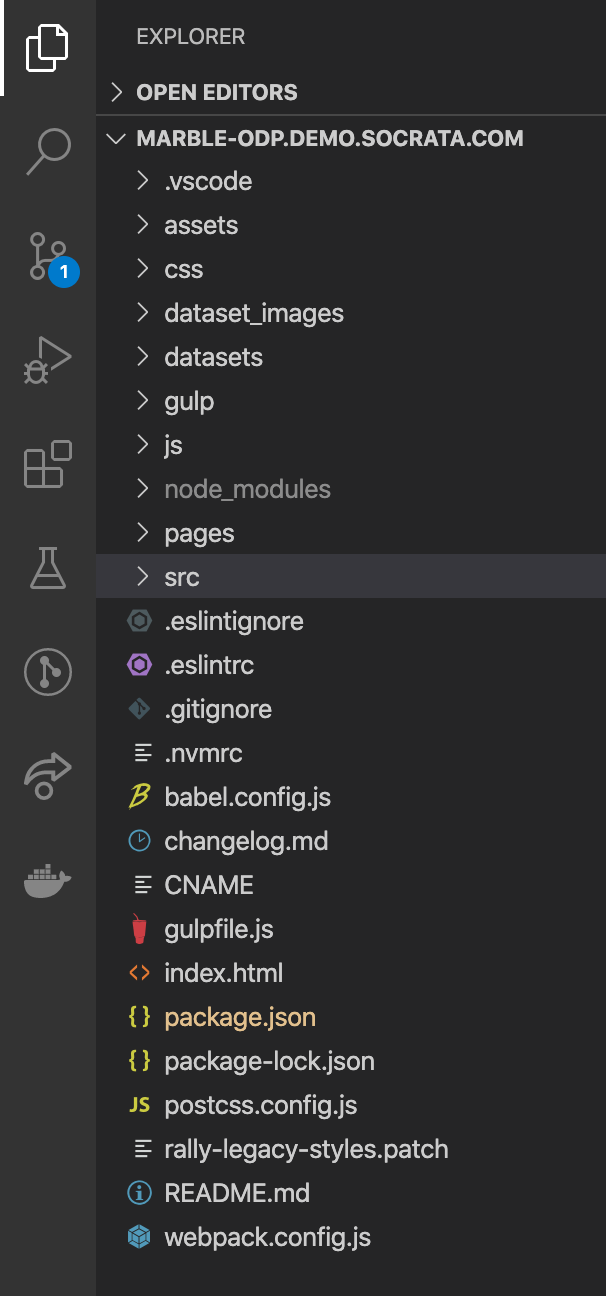
There should be a visible CNAME file, some type of Webpack config, and a src directory.
Creating a Marble Template
First, create a new Marble homepage template. This is necessary because there are new gulp scripts, JS helper files, and configurations. This is the simplest way to ensure the Marble project will function correctly.
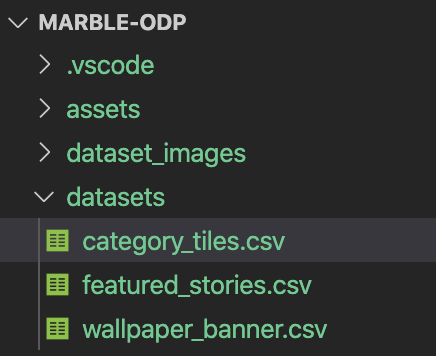
Note: Marble allows one repository to represent multiple Socrata domains. It makes sense to name the new project based on the Socrata instance type instead of a static domain. For example, this Chalk based project title is “marble-odp.demo.socrata.com“. Instead, consider naming the Marble project “marble-odp”. This naming convention will make more semantic sense if, in the future, someone adds a new production or release-candidate Marble config to this project that contains a new domain.
Learn how to generate a Marble project here: Generating a Homepage Template.
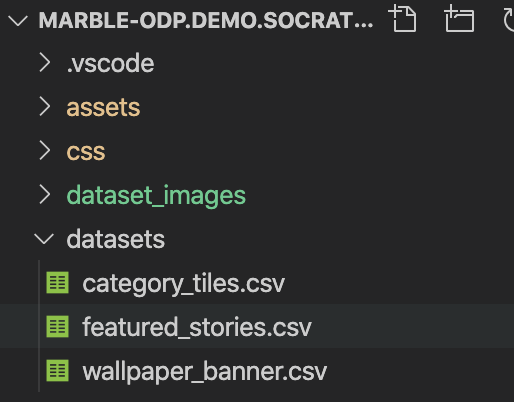
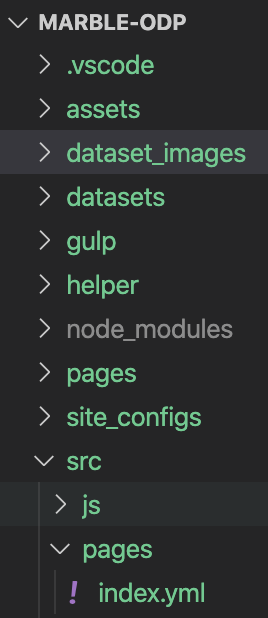
Once the project generates, it should look as follows.
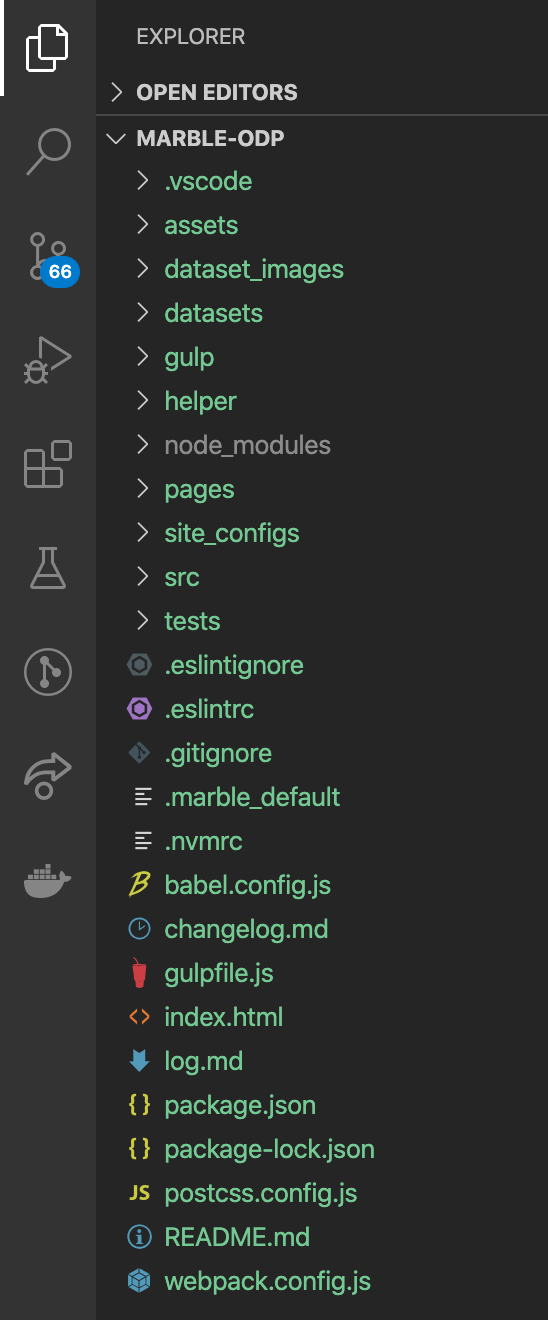
This project may look similar, but there are key differences such as the .marble_default file and the site_configs directory.
Copying Files Over
Now it is time to transfer the Chalk-based template files over to the Marble-based template. This section lays out a list of headers specifying what type of files should be moved, followed by
Important Note: This guide demonstrates how to move files to a newly generated marble project structure. Marble projects can have any folder structure they prefer as long as the Marble configuration files represent those directory changes. If this marble project already exists, make sure to check the Marble configuration files to know where specific files are.
Dataset Images
Important Note: Only copy over dataset images if the site is not live on a Socrata Domain. If a live site already exists, this is not needed. The action of copying these files will not corrupt the repository in any way. They will just be overwritten later on in the process.
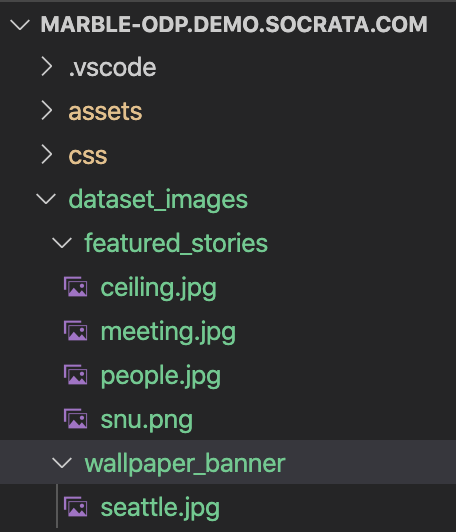
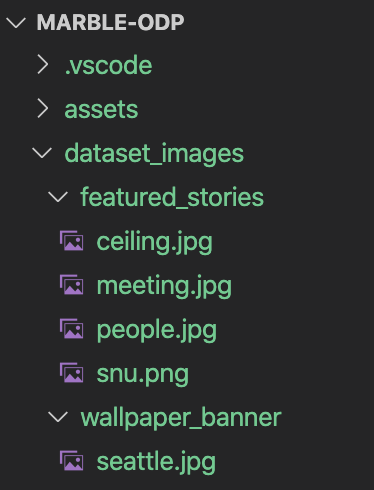
Copy over the chalk template’s dataset images into the marble template’s dataset image directory.
Datasets
Important Note: Only copy over datasets if the site is not live on a Socrata Domain. If a live site already exists, this is not needed. The action of copying these files will not corrupt the repository in any way. They will just be overwritten later on in the process.
Copy over the chalk template’s dataset files into the marble template’s dataset directory.
There is one significant difference between Chalk template datasets and Marble template datasets. Marble datasets require all image files to be explicitly defined.
Open up the dataset_images directory, then go into the wallpaper_banner.csv file inside the datasets directory. Add the image name located inside the ./dataset_images/wallpaper_banner directory to the appropriate image column inside the wallper_banner.csv file. When successful, it should look similar to the picture below.
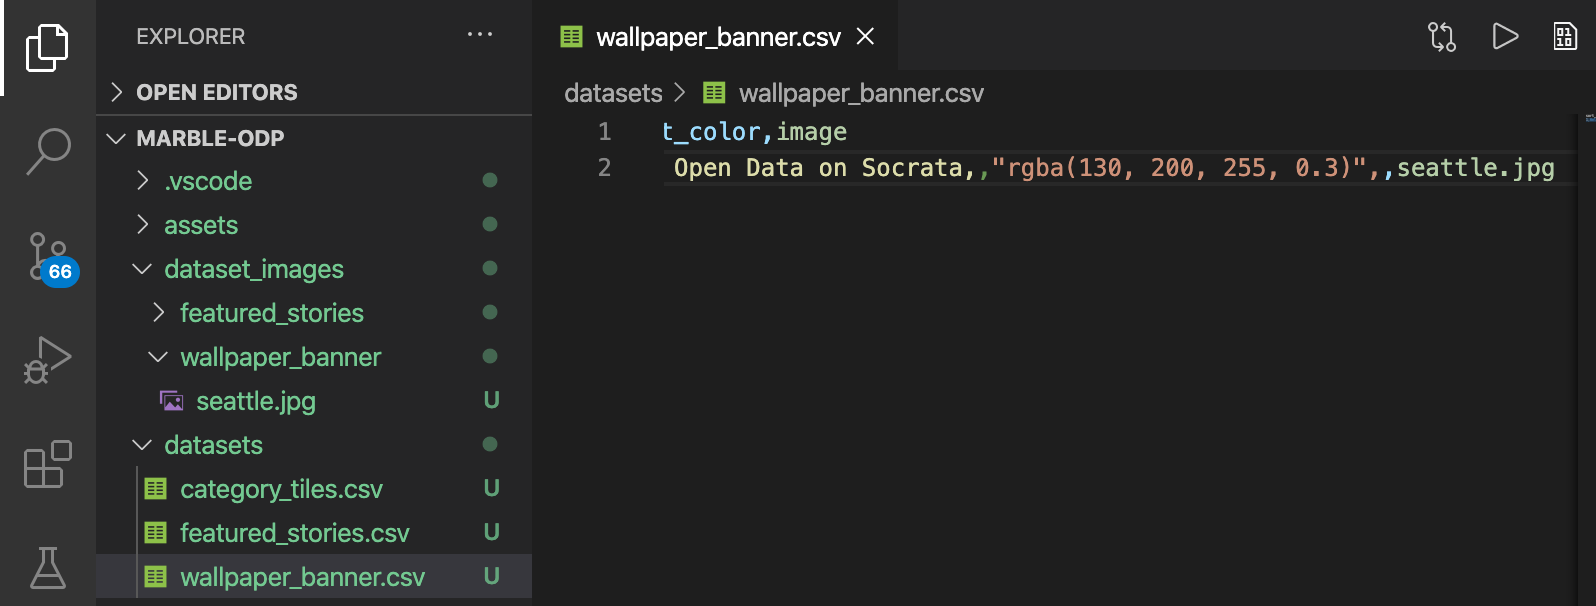
Repeat the same step for all of the datasets with images. In this example, repeat for images inside the featured_stories dataset.
Note: There are two things to note. First, image names in the datasets must state the full image name plus the file extension, just like seattle.jpg. Second, images get referenced from the dataset_images subfolder that has the same dataset name. For example, if seattle.jpg is put inside the feature_stories.csv file, the image will not upload, as it is only located inside ./dataset_images/wallpaper_banner.
JS Files
Copy and replace all Javascript files from the Chalk template ./src/js directory into the Marble template ./src/js directory.
Dataslate Pages
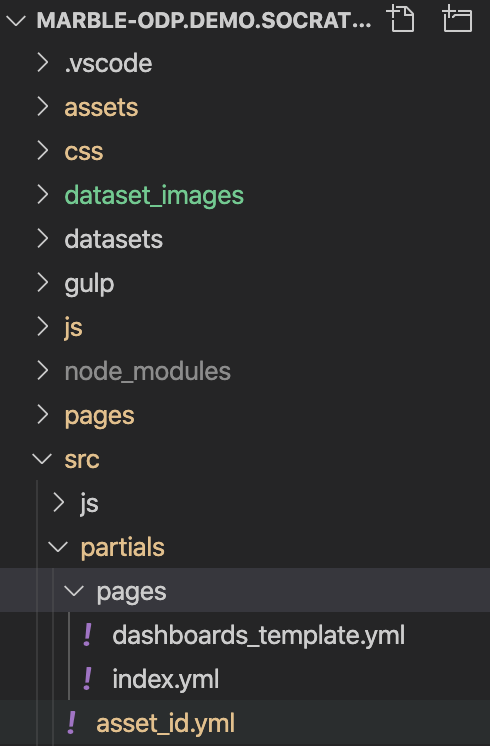
Copy and replace all page files from the Chalk template ./src/partials/pages/ directory into the Marble template ./src/pages directory. Ignore the dashboards_template.yml.
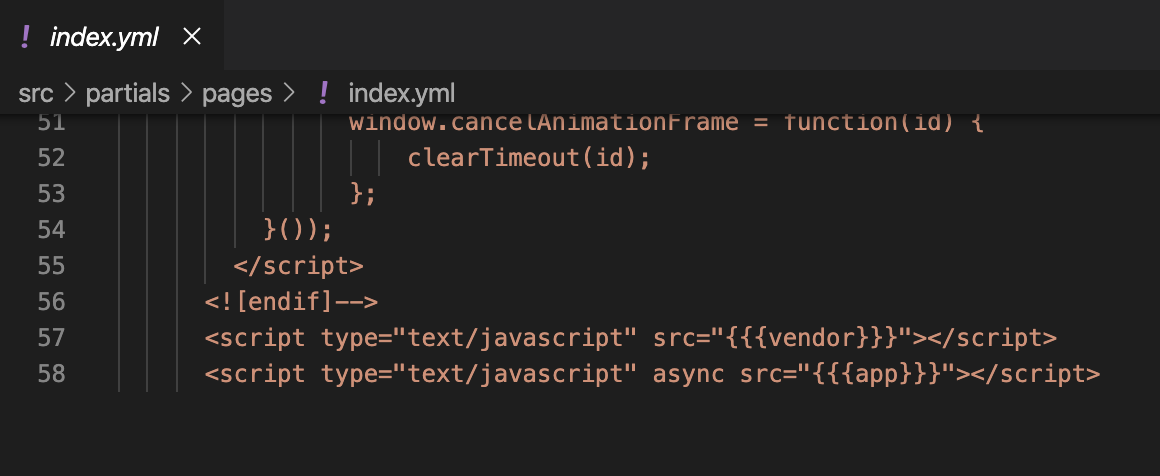
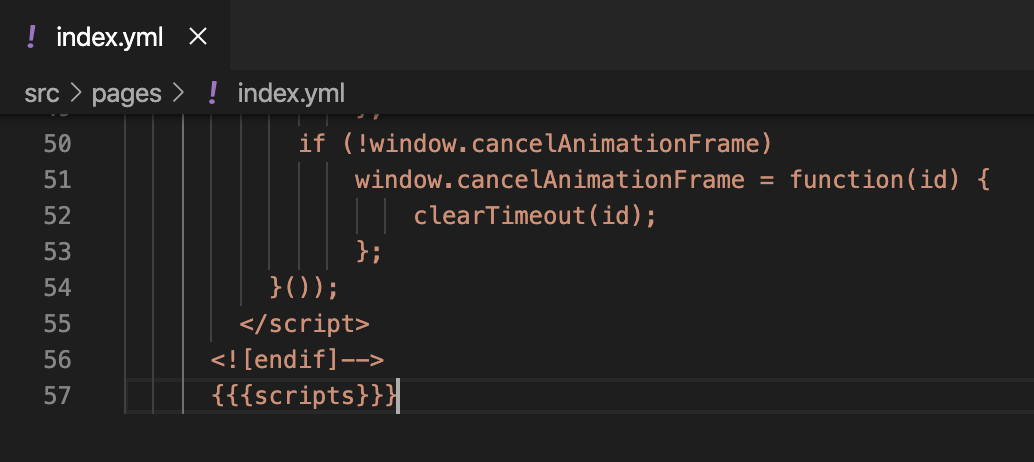
The Marble page configuration files inject React apps slightly differently than Chalk pages. To fix this variance, go into the newly pasted ./src/pages/index.yml page file.
Replace everything after the <![endif]--> with {{{scripts}}}. This fix will allow the Marble to inject the React app correctly.
Home Files
Move the files in the Chalk template ./src/template/partials/home over to the Marble template ./src/template/partials/home directory. Overwrite any files if necessary.
Important Note: The index.jsx file has had a few changes. For example, the carousel now accepts a slides prop instead of just children. Before: <Carousel autoplaySpeed={6000}>{slides}</Carousel>. After: <Carousel slides={slides} autoplaySpeed={6000} />. This example is just one of the many changes; please be sure the site functionality still works before deploying. Test the project by launching the npm start or npm run start-local depending on if the tests should include hosted or local datasets.
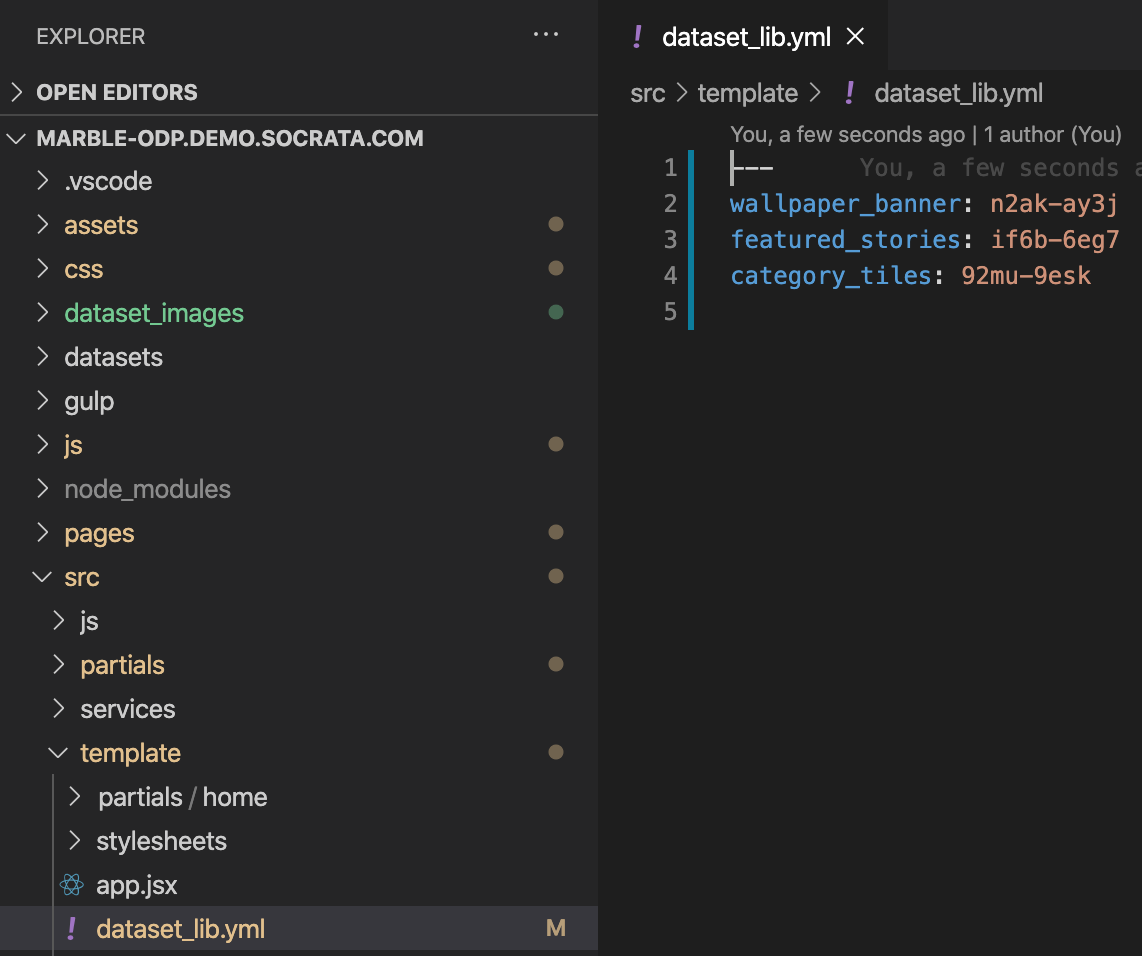
dataset_lib.yml Content
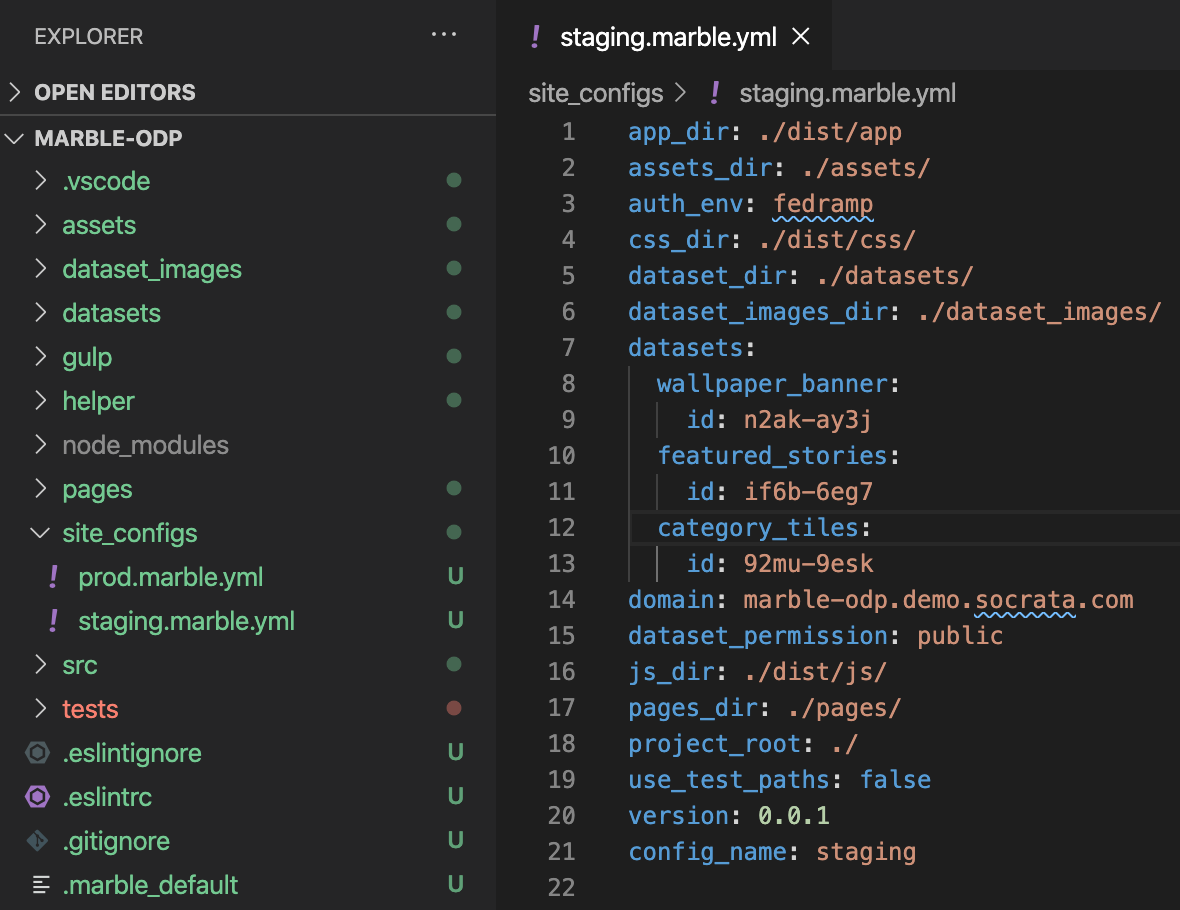
Go into the ./src/template/dataset_lib.yml file in the Chalk template. These dataset configurations now live inside the Marble configuration file. Now, in the Marble template, open up the ./site_configs/staging.marble.yml file. Add a new key-value pair for each dataset described in the dataset_lib.yml file. As a property under that key-value pair, add the four by four id as a key-value pair like as follows, id: n2ak-ay3j. It translates, as shown below.
CNAME File Content
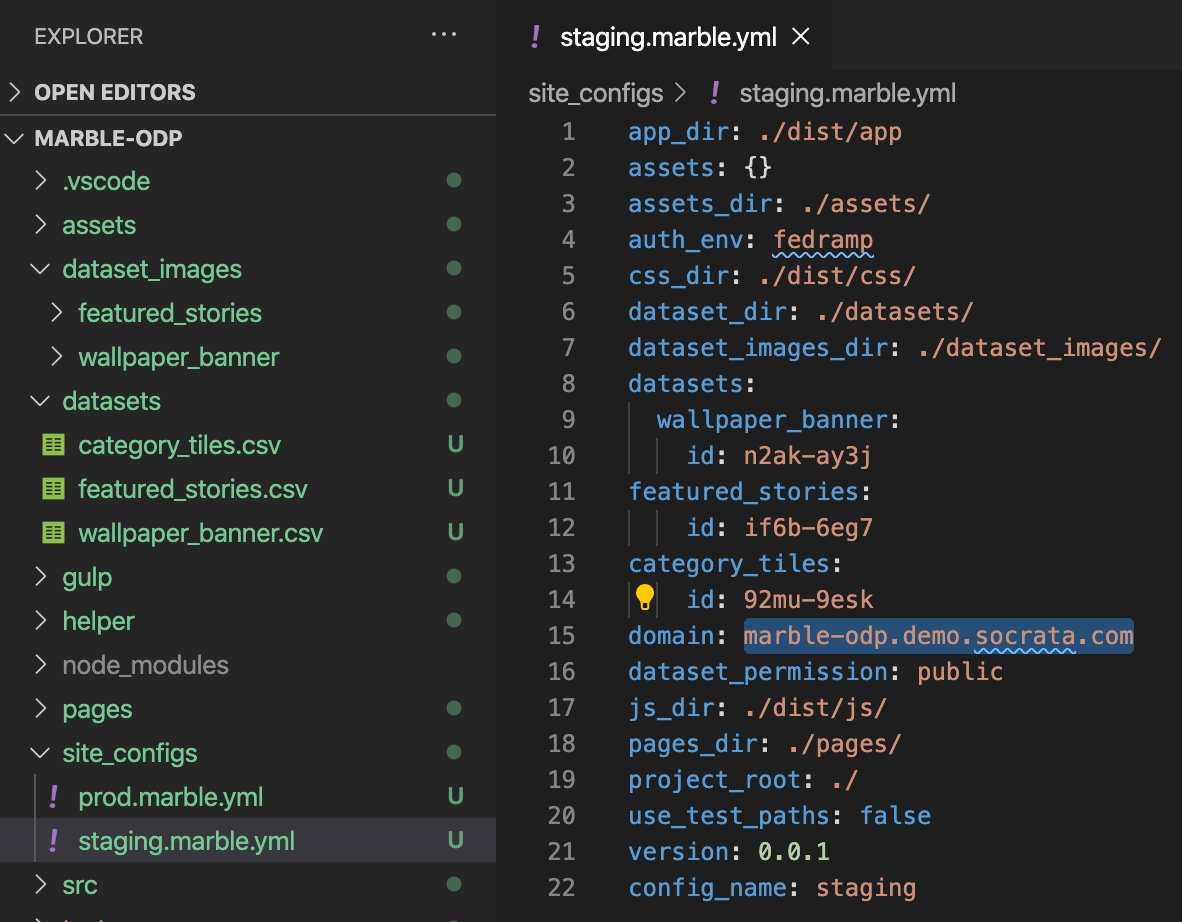
Open the CNAME file and copy the domain. Then go over to the Marble template’s site_configs folder, open up the staging.marble.yml, and paste the domain into the domain key-value pair as shown below.
Note: There are two marble configuration files, prod.marble.yml, and staging.marble.yml. This guide only cares about the staging config. The prod.marble.yml config is initially the same as the staging.marble.yml config. It acts as a placeholder config file incase this app has a production site.
Reverse-Populating
Now run marble reverse-populate.
Note: This should only run if there is a live Socrata instance, as this downloads the current homepage datasets. If the desired homepage content is on a different domain than the staging domain specified in the staging.marble.yml, be sure to update that domain value in the config before running this command, or the wrong datasets may be downloaded.
This command pulls in the latest homepage dataset content from the Socrata domain and overwrites the local datasets.
This command is important because the customer could have changed some content on their homepage datasets since the last deploy. Without doing this could result in permanently overwriting customer content.
After running this command, the dataset folder, dataset image folder, and the staging.marble.yml config should look similar to the following.
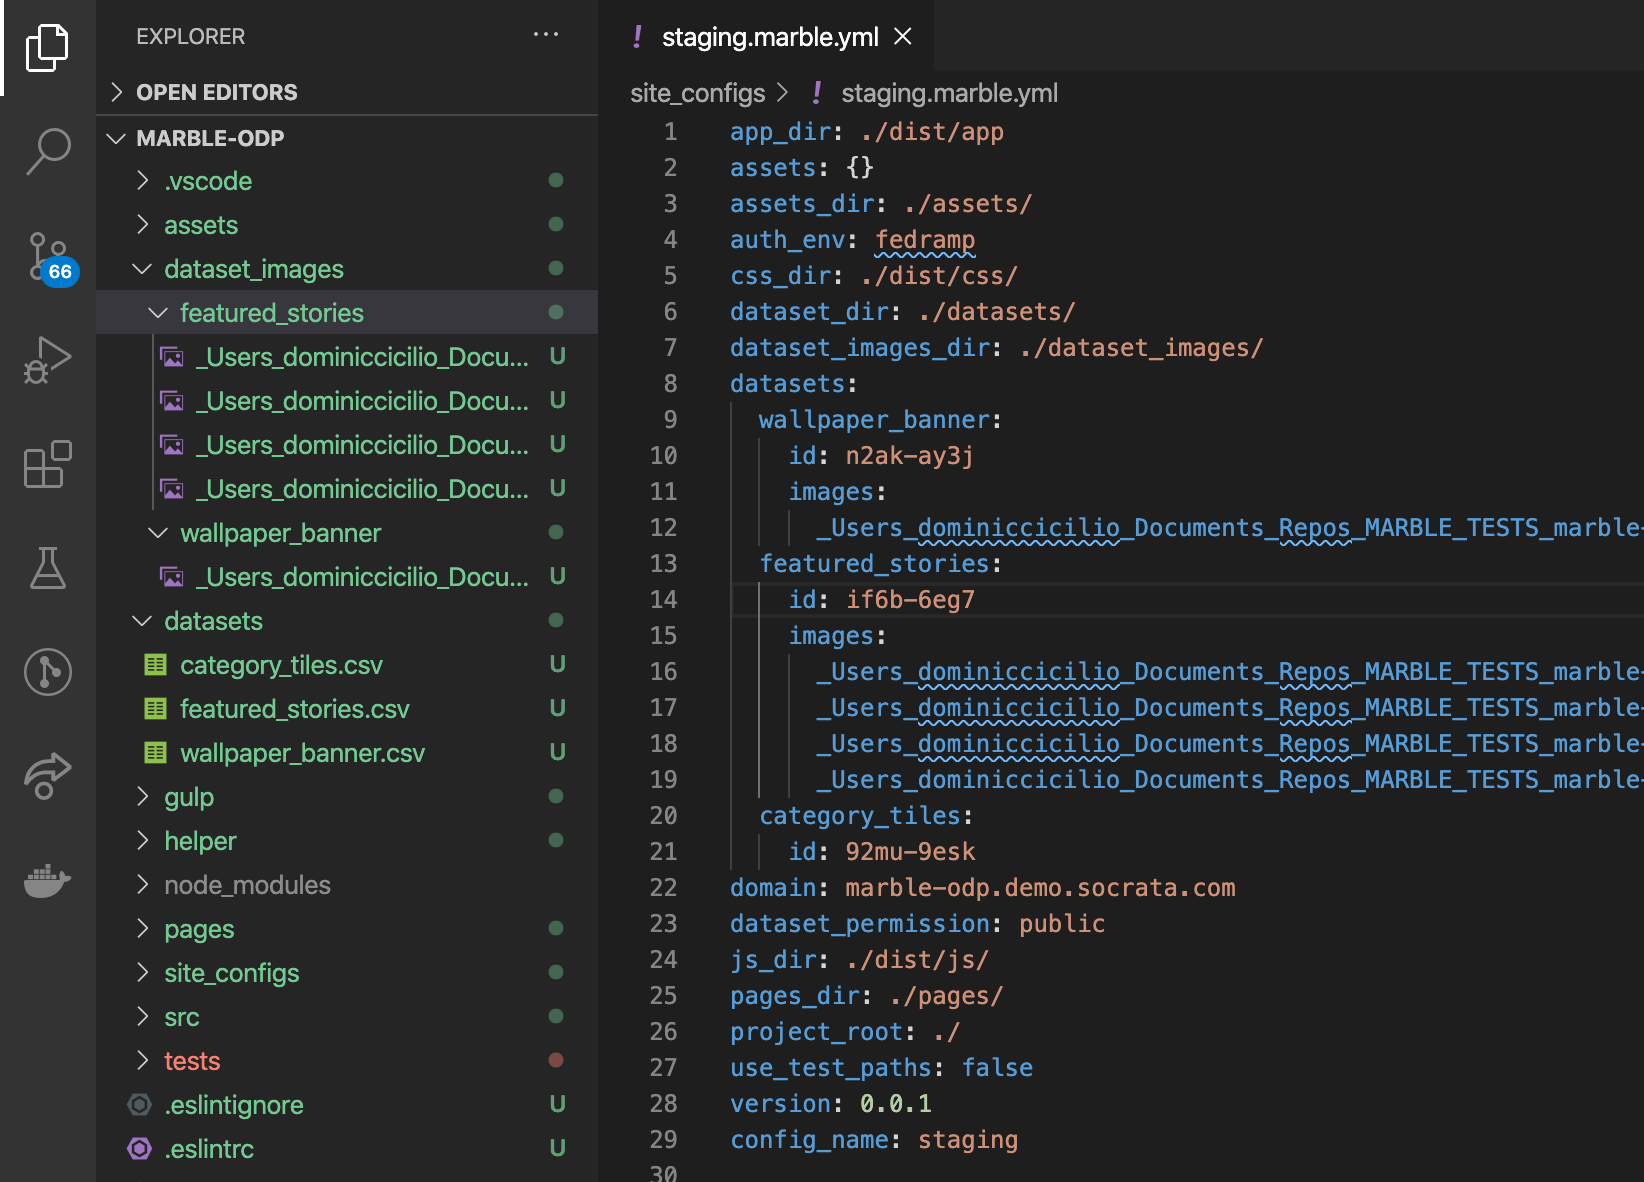
The image names come from the image file metadata. Feel free to rename them, just be sure also to rename them inside the dataset files.
Deploying the New Marble Template
Finally, the project should be ready to deploy.
Run the npm run deploy-staging command.
When complete, the terminal should look close to the following.

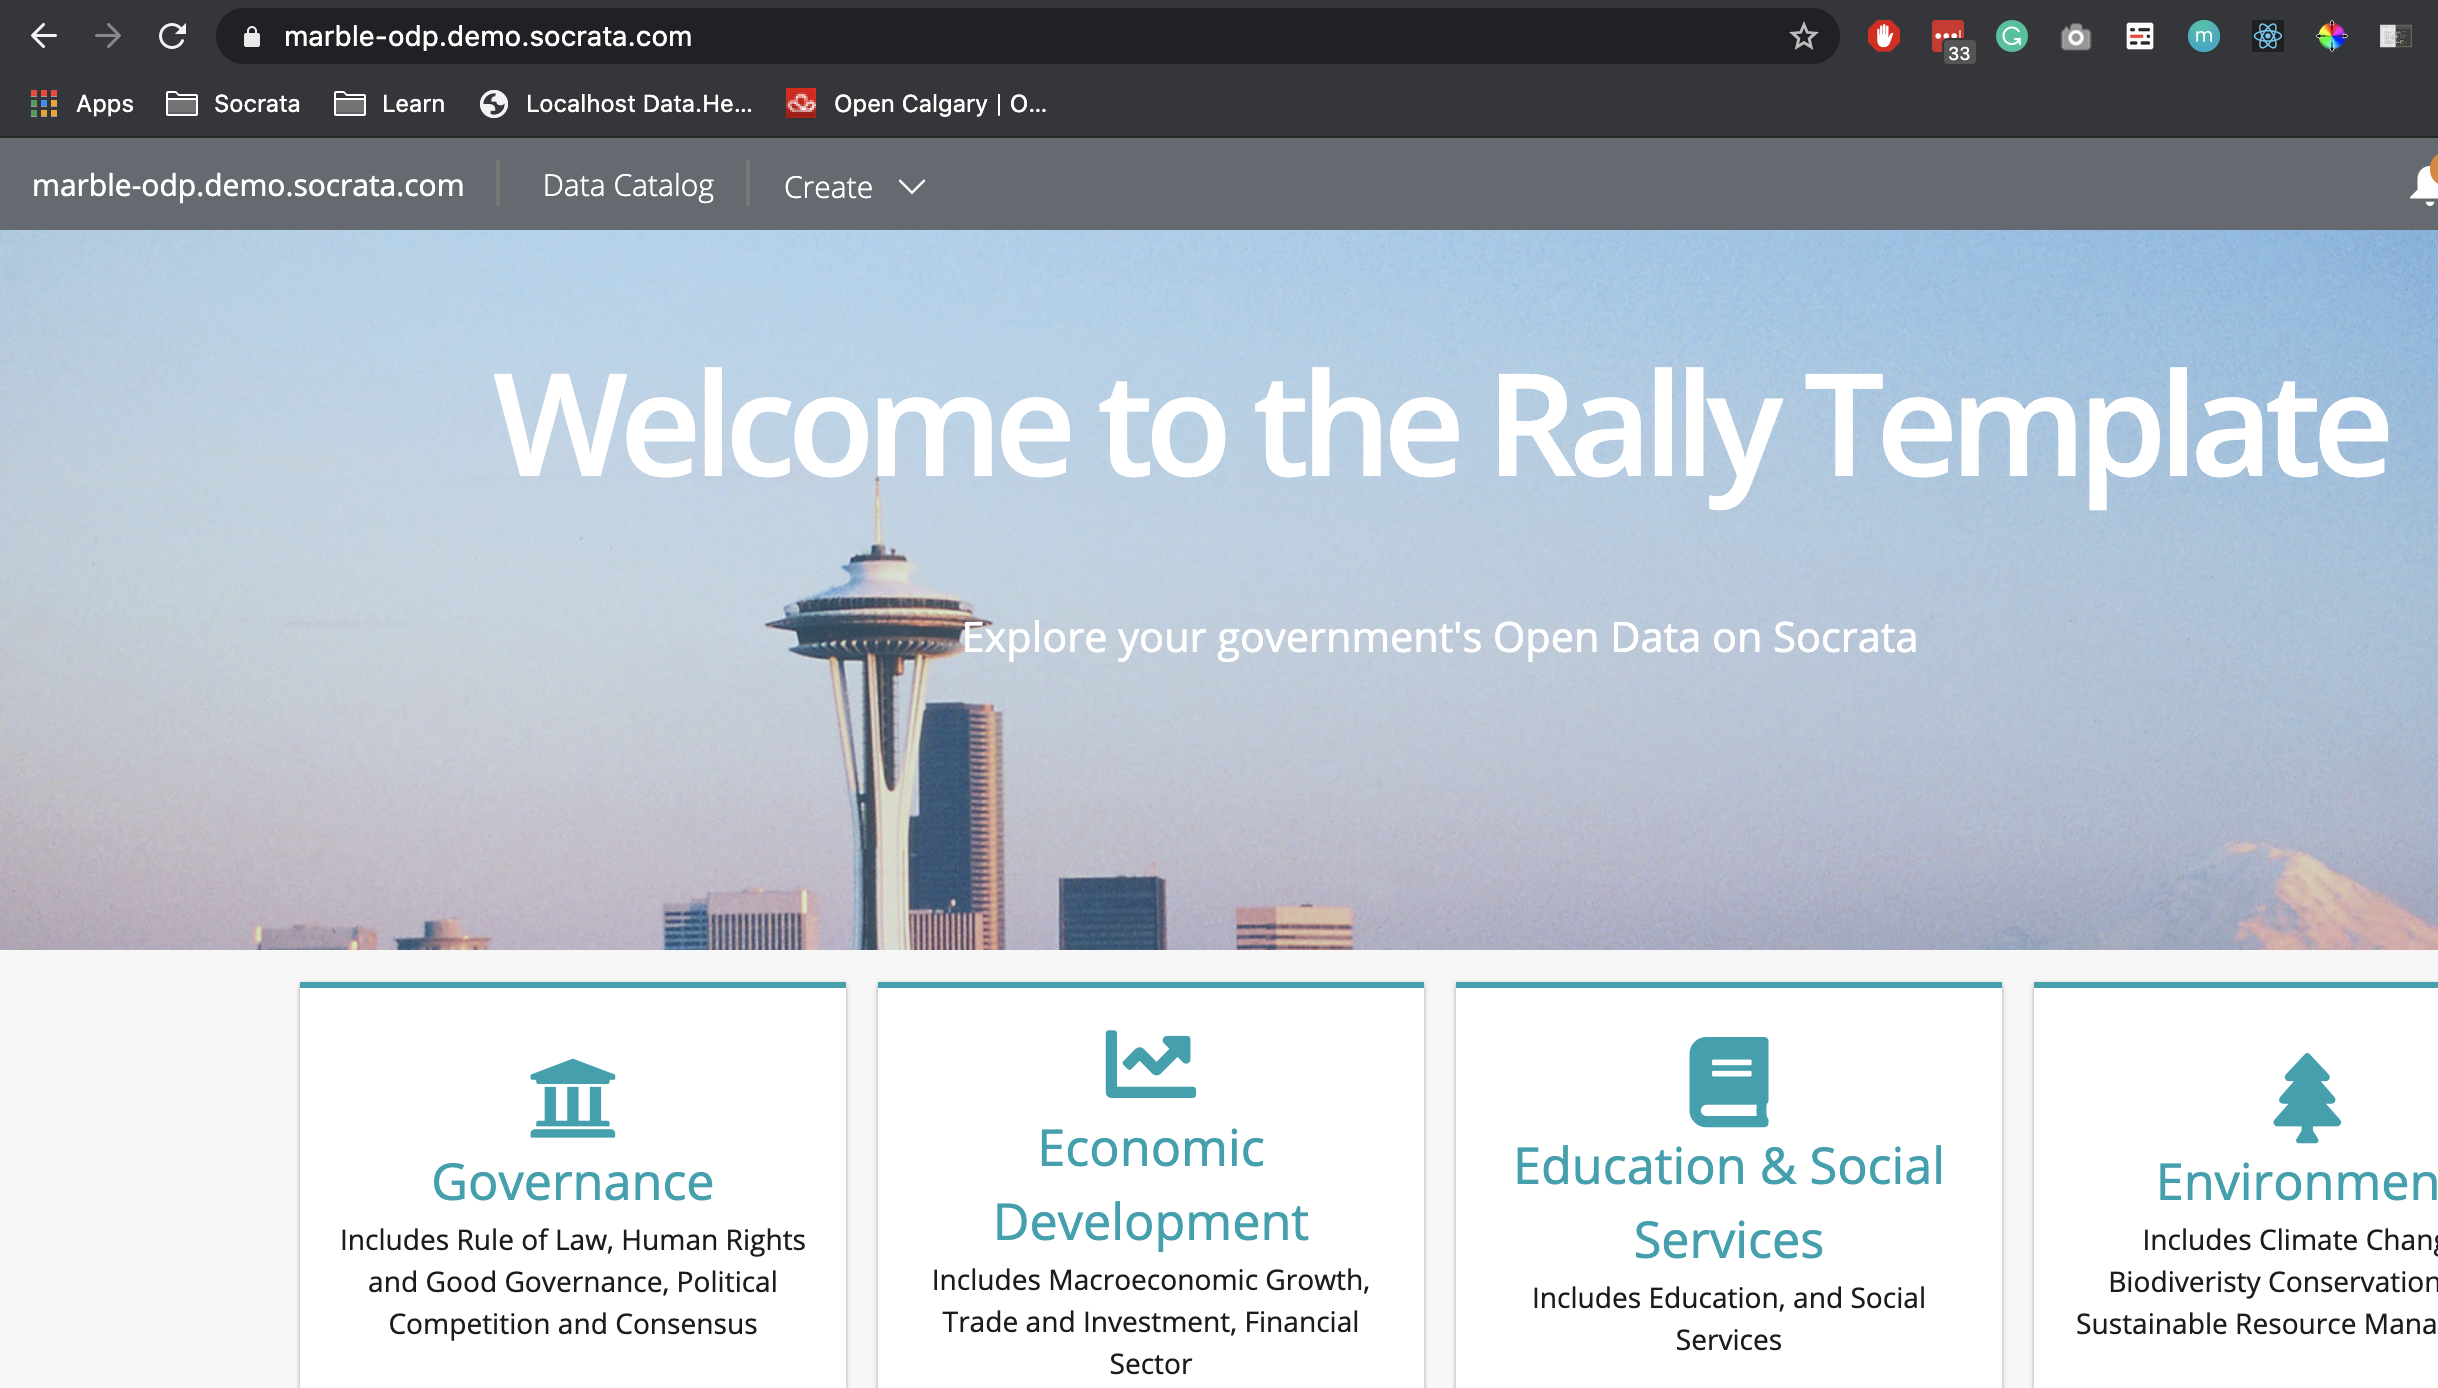
Go to the root of the domain listed at the bottom of the terminal; in this case, the domain will be https://marble-odp.demo.socrata.com. The new Marble template should now be successfully available!!! :tada:
If any issues come up, please feel free to reach out to the #gs-dev channel. Thank you!