Transitioning from Staging to Production
A common practice in web development is to maintain different sites for staging and production. This enables developers to review and test any changes prior to deploying them in a live production environment.
This guide shows you how to transfer homepage content from a staging domain to a production domain.
Initial setup
This guide assumes that you have an existing homepage project directory set up locally. If you haven't yet generated a project, please first follow the instructions in Generating a Homepage Template.
Background: Git branches
Sometimes there are differences between the app code for staging and production environments. While Marble is only concerned with different deployment configurations (i.e., different Socrata domains), Git branches can optionally be used to maintain different versions of app code as well.
Using the git branch command, check if your project repository has a staging branch in addition to the default master or main branch. (You can skip this step if you just generated this project for the first time.)
If there is a staging branch, be sure you're on it. You can switch to the staging branch by executing git checkout staging.
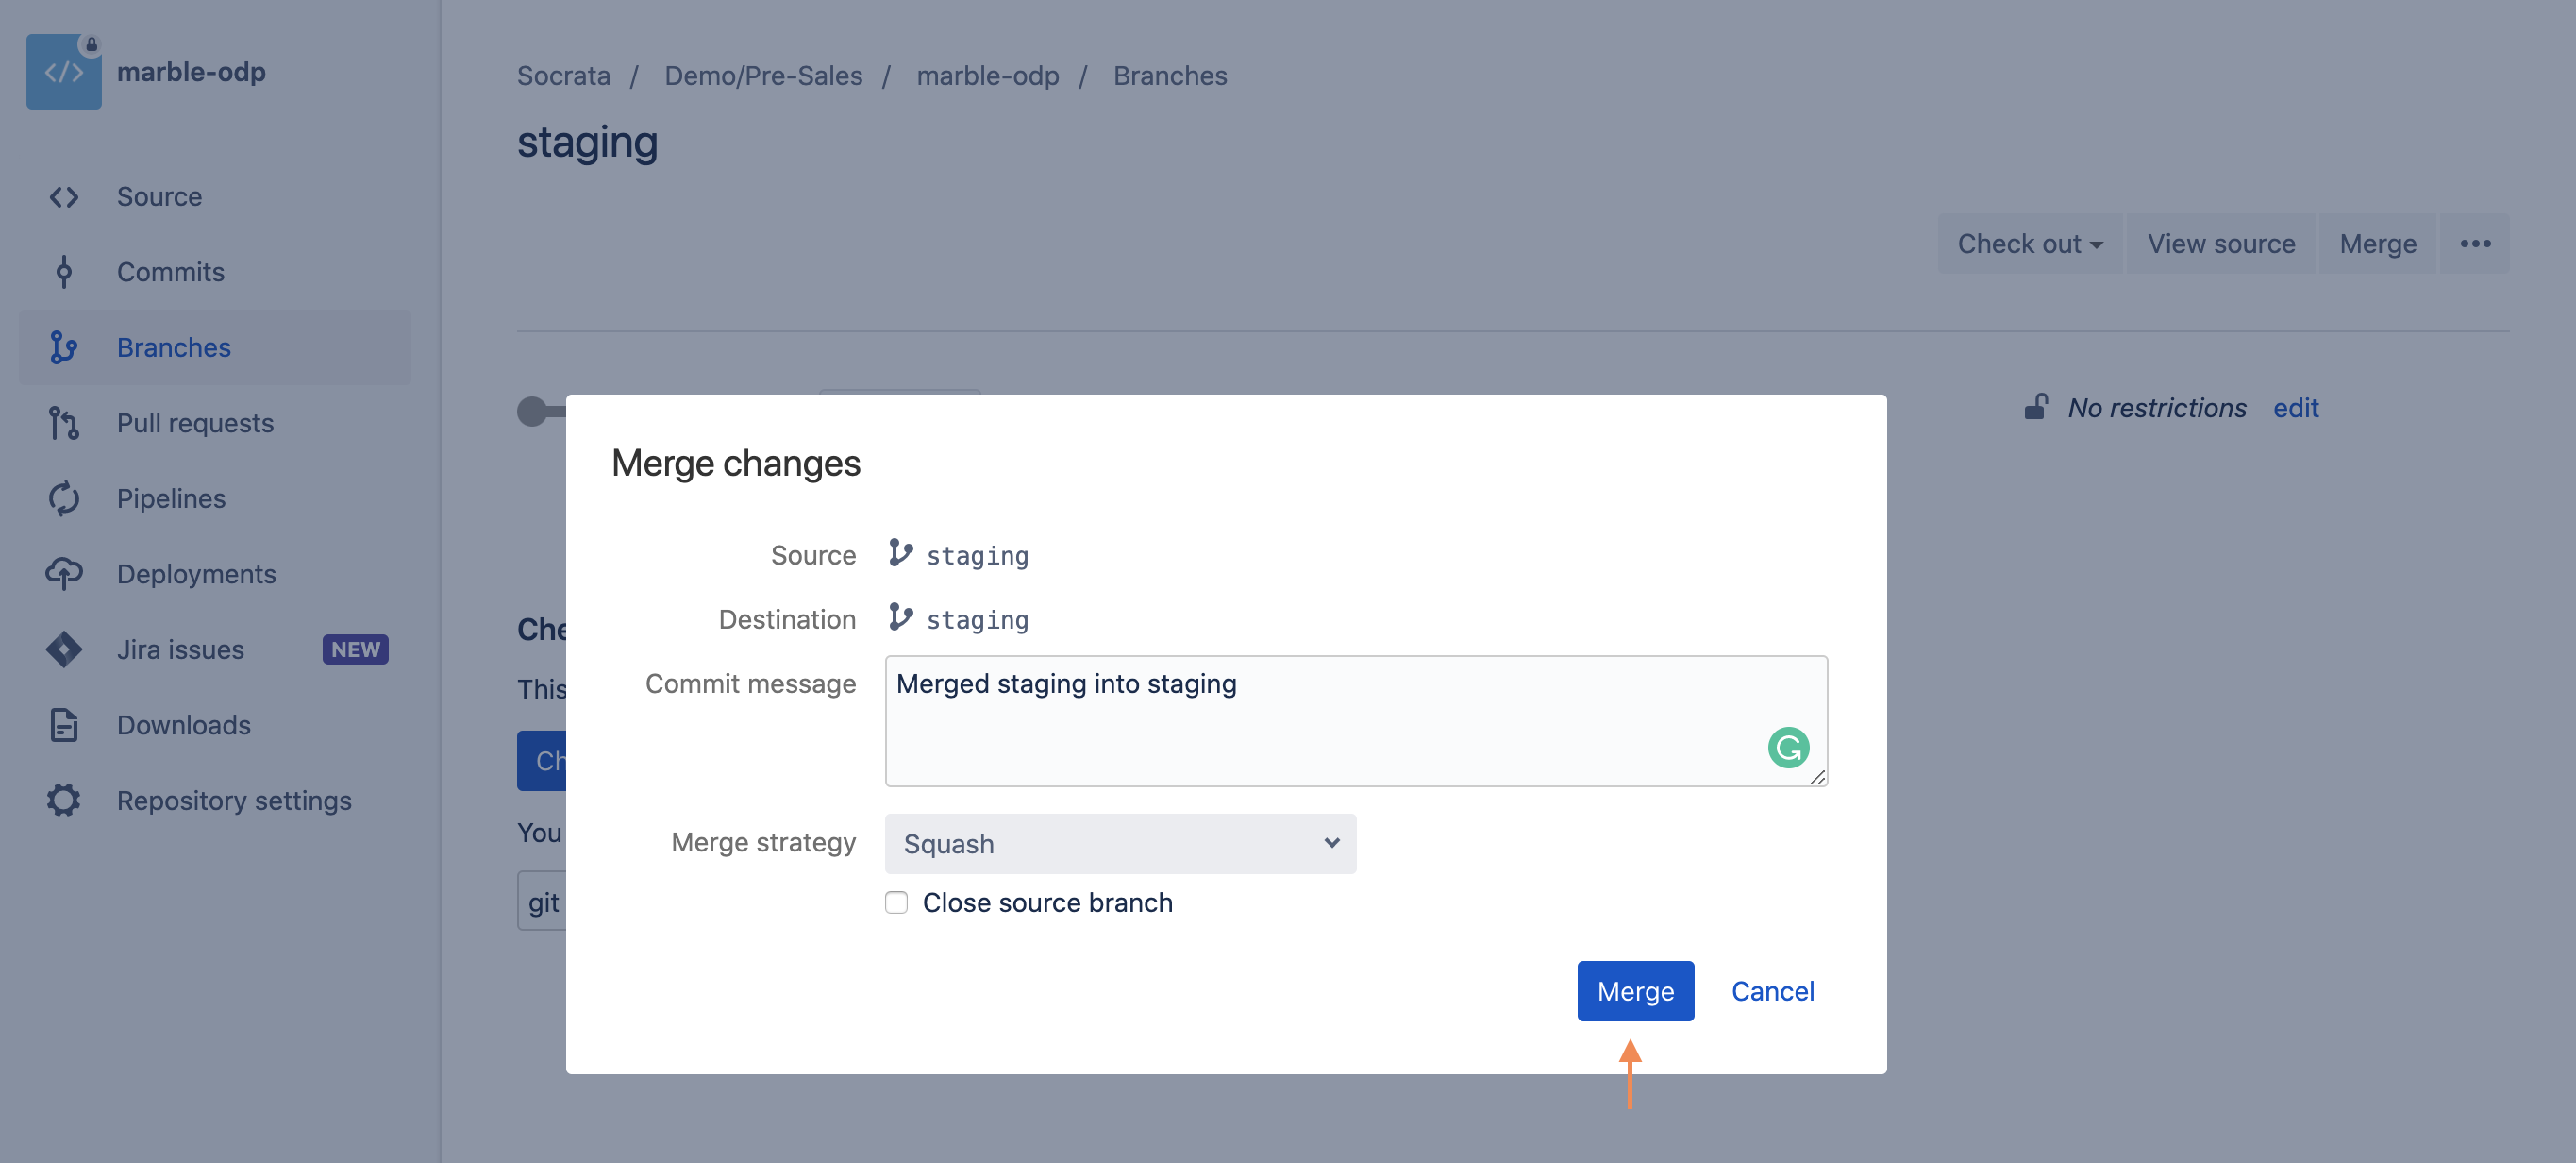
Once on the staging branch, execute git status and make sure any unstaged code changes are committed and pushed to Bitbucket. After you've ensured that your staging branch is fully up to date on Bitbucket, you can go to Bitbucket and merge the staging branch into master/main:
Now, in your terminal, git checkout the master/main branch and then pull down the latest merged code by running git pull.
Check .marble_default file
Your Marble project directory should include a .marble_default file at its root level. This file contains a single line specifying the relative filepath for the default Marble configuration file to use when deploying the project. For example, your .marble_default file might contain the following:
./site_configs/staging.marble.yml
Be sure this filepath points to the appropriate Marble config file, as Marble will use that file when deploying the homepage.
Download staging site to local project directory
Your first task is to fetch the current staging domain datasets using Marble. In your terminal, execute the following command in your project directory:
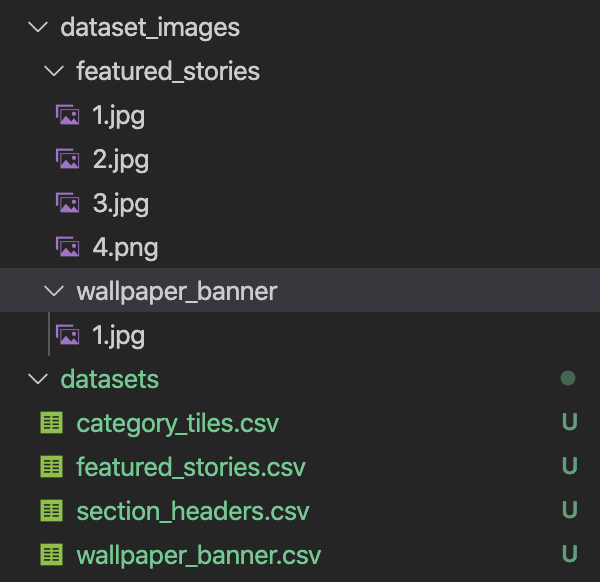
marble reverse-populate
This command will use the config file specified by .marble_default to download datasets and dataset images from the staging domain. (This domain is specified in the config file under the domain property.)
Upon completion, your datasets and dataset images directories should look something like the following:
Initialize production config file
Inside your project's ./site_configs directory, you should find a prod.marble.yml config file. If this file doesn't exist, feel free to create it by duplicating the staging.marble.yml file.
Open prod.marble.yml in your code editor and change the value of the domain property to your production domain, then save the file and close it.
Update .marble_default
Now you must change your .marble_default to point to your production config file. Open the .marble_default file at the root level of your project directory in your code editor, and edit it to the following, then save and close:
./site_configs/prod.marble.yml
Deploy to production domain
Now you can deploy your site to the production domain using the same steps described in Deploying a Homepage Template.
First, upload your datasets and dataset images by executing the following command:
marble populate
Next, bundle and upload your site code by executing the following command:
npm run deploy
Because these commands use the prod.marble.yml config file specified in .marble_default, this time your homepage content will be deployed to the production domain.
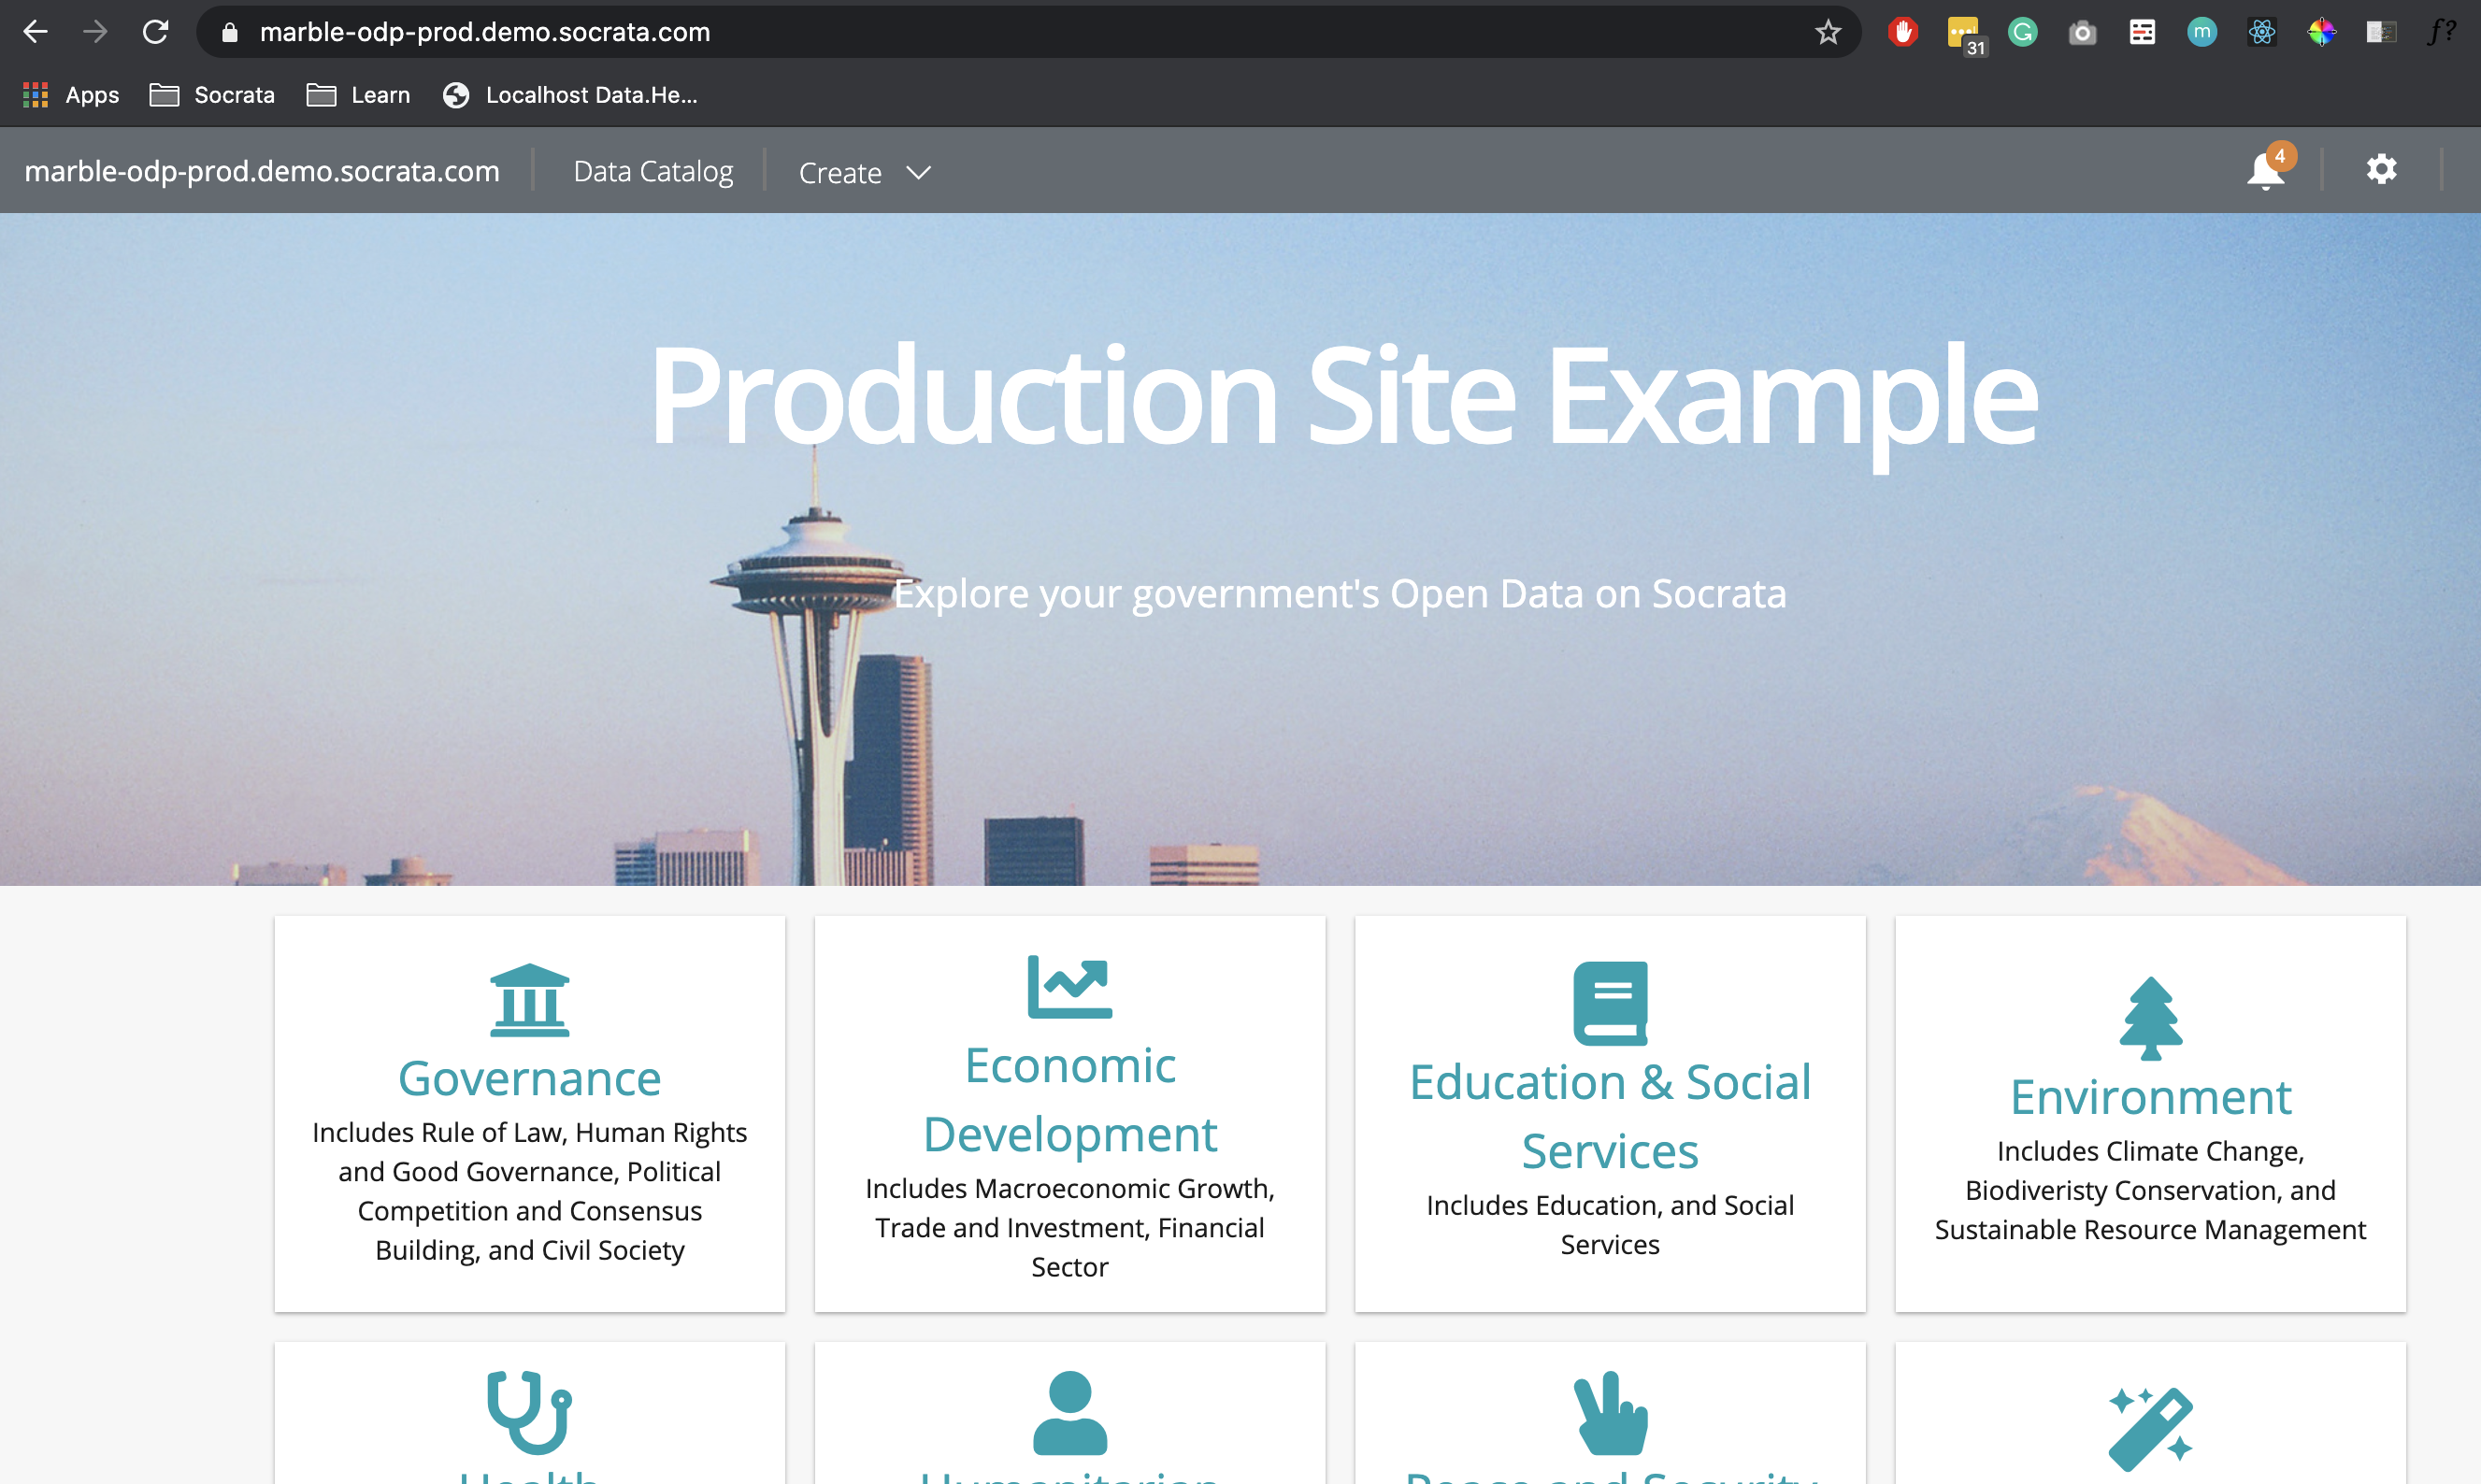
Here's what your production site might look like after deploying:
Congrats! You have successfully transitioned a homepage from staging to production!